The 15-Minute Maintenance Routine
A real technician's monthly walk-around: what to look at, what to test, and what to lubricate so your garage door doesn't turn a five-minute fix into an emergency call.

Why 15 Minutes a Month Beats an Emergency Call
Before I started this company, I spent close to a decade doing facilities-maintenance work on commercial overhead doors around the Elk Grove Village Business Park and the retail corridor near Woodfield Mall. Those loading-dock doors and warehouse openers ran on scheduled maintenance contracts — a technician walked every door on a set interval, logged what he found, and fixed small problems before they became downtime. Homeowners almost never get that same discipline, and it shows in the calls I run every week: a roller that's been screeching for two months finally seizes, or a door that's been "a little off-balance" finally snaps a torsion spring on a January morning.
None of that is complicated to prevent. What I'm walking through here is the same 15-minute routine I do on my own door and teach every new technician who joins my crew — a real inspection, not a marketing checklist. Do it once a month and you'll catch the small stuff (a loose bracket, a dry hinge, a sensor that's drifted out of alignment) before it turns into a door stuck open, a door off its track, or a Saturday-morning call to us. Chicago's freeze-thaw cycle is genuinely hard on garage door hardware — steel contracts in the cold, lubricants thicken or wash out, and moisture works into places it shouldn't — so a monthly check matters more here than it would somewhere with a milder climate.
I'm not going to pretend every homeowner needs to become their own technician. Springs, cables, and anything under tension are jobs I want you to leave to a trained tech — I cover that boundary clearly below. But everything else in this routine is safe, useful, and takes less time than most people spend deciding what to watch on a Friday night.
Start With Your Eyes: The Visual Walk-Around
Close the door, kill the opener at the wall switch if you have one, and walk the full perimeter with a flashlight. This takes about three minutes and it's where most problems first show themselves.
- Tracks: Look for dents, gaps at the joints, or a track that's pulled away from the wall bracket even slightly. A track doesn't need to look bent to the eye to be out of alignment — run your hand along the inside edge and feel for a lip or ridge where a roller has been rubbing. That's an early warning for a track repair before the door actually jumps the rail.
- Rollers: Spin each one by hand. It should turn freely with no grinding, flat spots, or visible cracking in the roller material. Nylon rollers cloud and crack with age; steel rollers with worn bearings will feel notchy instead of smooth. Either one is a roller repair waiting to happen, and a seized roller is one of the most common reasons a door starts binding on one side.
- Cables: Look at the cables running down to the bottom brackets. You're checking for fraying strands, not testing tension — never touch or adjust a cable yourself. If you see individual wires sticking out, stop using the door and call a technician.
- Panels and hinges: Check each panel seam for new dents or separation, and look at the hinges between sections for cracks or elongated screw holes. A hinge with a stripped or oversized hole is a sign the door has been struggling against something — often a balance problem, which is the next thing to check.
The Balance Test Most Homeowners Skip
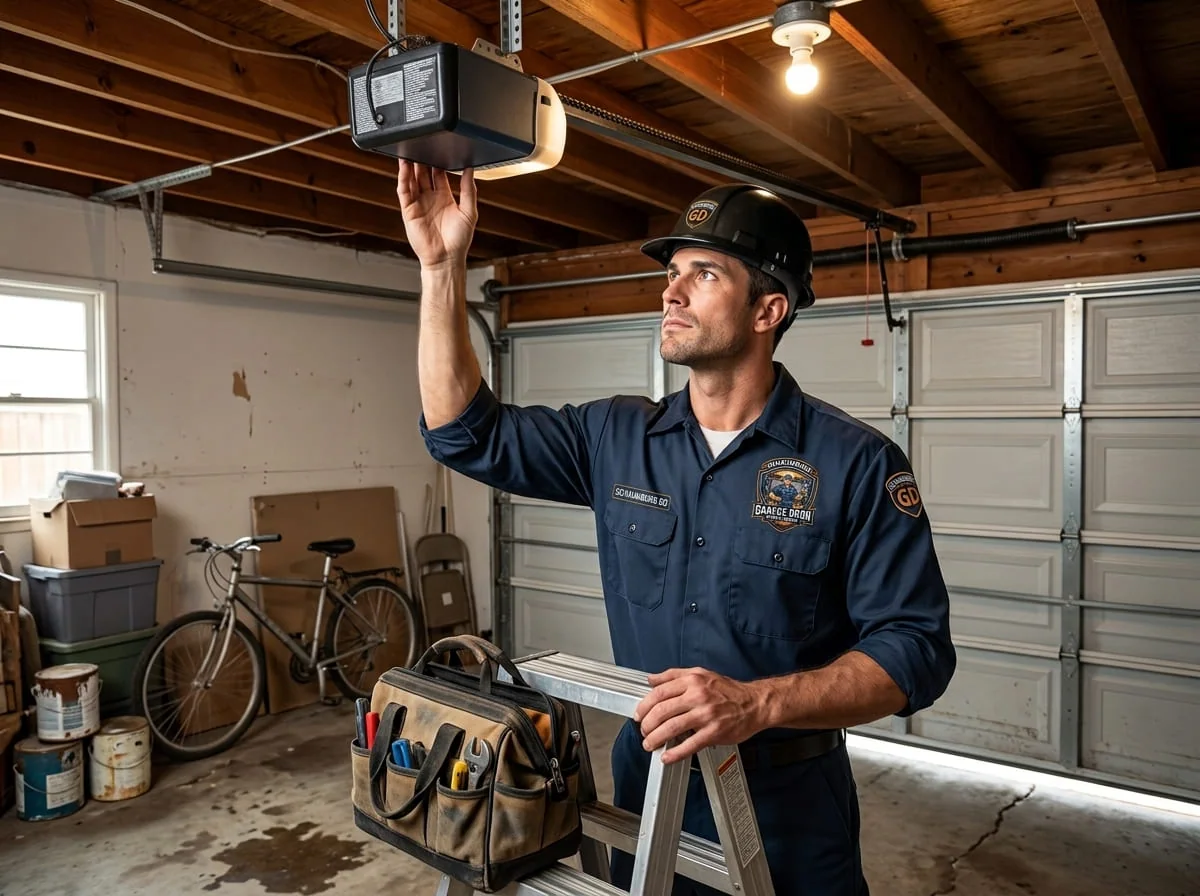
This is the single most useful five minutes in the whole routine, and almost nobody does it. A garage door is designed to be balanced by its springs, not carried by the opener motor — the opener should only need to provide a small amount of force to move a properly balanced door. When the springs weaken or the balance drifts, the motor compensates by working harder, which wears out gears, belts, and drive components years before they should fail. That's why so many garage door opener repair calls actually trace back to a spring problem, not the opener itself.
Here's how to check it: pull the emergency release cord to disconnect the opener (the red-handled cord hanging from the trolley), then lift the door manually about halfway and let go. A balanced door will stay roughly where you left it, or drift down slowly. If it slams down or shoots upward on its own, the springs are out of balance and it's time to call a technician — do not attempt to adjust torsion spring tension yourself. Torsion springs are under enough stored force to cause serious injury, and that adjustment is exactly the kind of job I mean when I say leave anything under tension to a trained tech. Reconnect the opener when you're done and confirm the door reverses normally before you walk away.
Test the Auto-Reverse Safety Sensors
Every residential opener manufactured for years has been required to include an entrapment protection system — most commonly a pair of photo-eye sensors mounted a few inches off the floor on each side of the track, plus a mechanical force-reversal system as backup. This isn't optional safety theater; it's there because a garage door is one of the heaviest moving objects in most homes, and the U.S. Consumer Product Safety Commission has documented real injury and entrapment incidents tied to openers without working reversal protection.
Test it monthly: place a piece of scrap wood or a paper towel roll flat on the ground in the door's path and trigger the door to close. It should reverse immediately on contact. Then test the photo-eye sensors on their own — start the door closing and wave your hand through the beam between the two sensor eyes without anything touching the floor. It should stop and reverse. If either test fails, don't leave the door operating that way. I've written a full walkthrough of sensor alignment, wiring, and the most common failure points in my safety sensor troubleshooting guide — most sensor failures are a simple alignment or lens issue you can fix yourself in a few minutes, but if the door still won't reverse after that, treat it as a same-day repair, not a someday one.
DASMA's technical data sheet on entrapment protection standards (TDS-190) is worth a skim if you want the actual engineering behind why these systems are built the way they are.
Lubrication: What to Use and What to Avoid
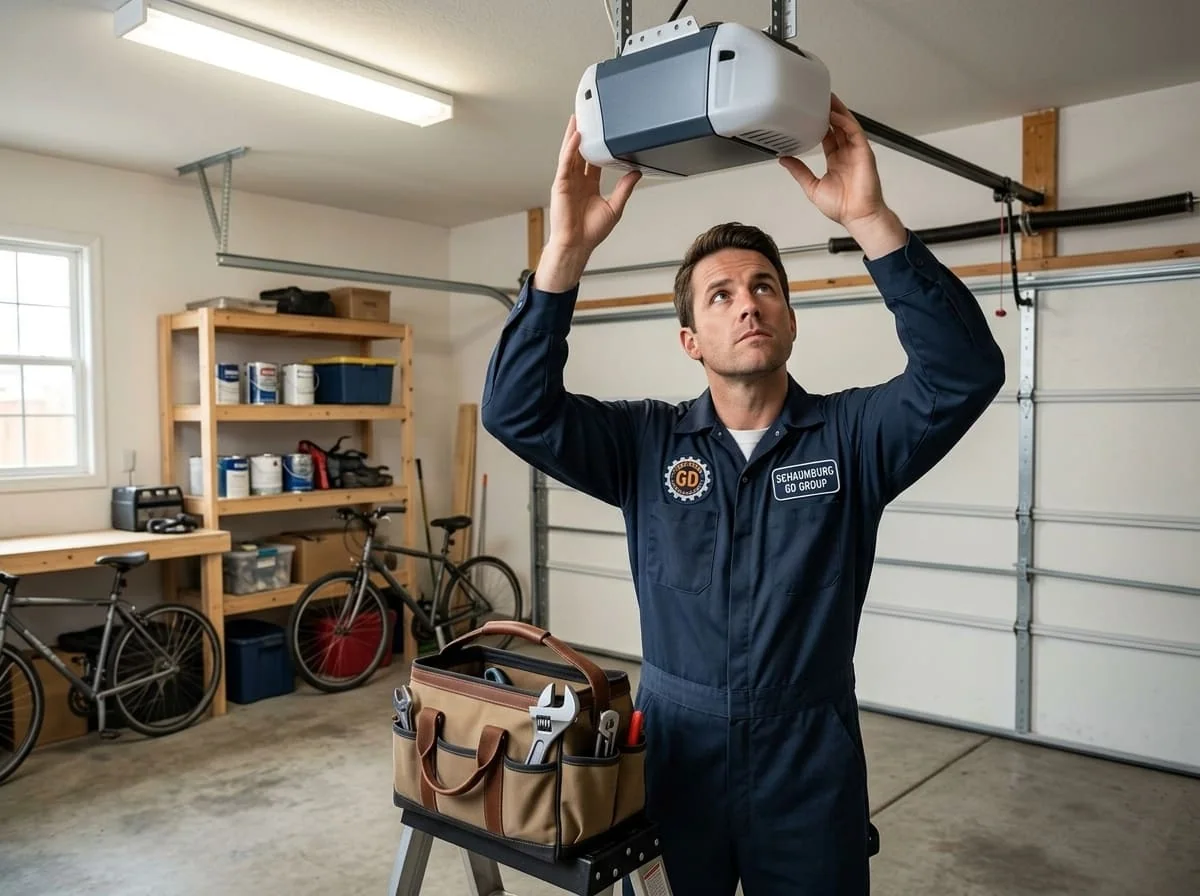
This is the step people get wrong most often, usually by grabbing whatever's on the workbench. WD-40 is a solvent and light penetrant, not a lubricant — it displaces moisture and dirt in the short term but evaporates quickly and can actually wash existing grease out of a roller bearing, leaving it drier than before you sprayed it. What you want is a silicone-based spray lubricant or a lithium grease made for garage door hardware.
- Rollers: a light coat on the bearing at the center of each roller, not the track surface itself.
- Hinges: lubricate the pivot point of every hinge, including the ones you can't see well at the top of the door.
- Torsion spring coils: a light coat along the spring itself reduces coil-on-coil friction and metal fatigue — but this is a look-don't-touch item for the spring's tension, just the lubrication.
- Tracks: don't lubricate the tracks themselves. A greasy track collects dust and grit into a paste that actually increases roller resistance over time. Wipe tracks clean with a rag instead.
- Opener chain or belt: a small amount of the same lubricant on a chain drive reduces the stretch and wear that eventually causes the slapping noise homeowners often mistake for a track problem.
Do this every three months in normal conditions, or monthly through a Chicago winter when road salt and slush spray gets into the garage more often and washes lubricant off faster than usual.
Hardware, Weatherstripping, and Illinois Winters
Vibration loosens fasteners over years of daily door cycles, and a loose bracket is one of the most common root causes behind a door that suddenly starts running noisy or slightly crooked. Go around with a socket wrench or nut driver and snug up the lag bolts holding the track brackets to the framing, and the fasteners holding the hinges to each panel. Don't overtighten into stripped wood — snug is the goal, not maximum torque.
While you're at it, check the bottom weatherstripping — the rubber gasket along the bottom edge of the door. In this climate it cracks, flattens, or pulls loose from years of freeze-thaw cycling, and a gap there is exactly how mice, drafts, and meltwater get into a garage. A worn seal also has a real energy-efficiency cost: ENERGY STAR's guidance on air sealing points to garage doors as a frequently overlooked source of conditioned-air loss in homes with living space above or adjacent to the garage. Replacing bottom seal is inexpensive and something most homeowners can do themselves with a tape measure and the right track profile for their door.
Check the header weatherstripping and the vinyl seals between panels the same way. If your garage isn't insulated and you're feeling temperature swings inside it, that's a separate conversation — I've written about R-values and insulated door options for this climate elsewhere on the site if you want to go deeper on that specific question.
The International Door Association, the trade group that publishes consumer education for garage door professionals, draws the same line I do between routine upkeep and jobs that need a trained technician — hardware, seals, and lubrication on one side, anything spring- or cable-related on the other. That split is the backbone of this entire checklist.
Listen to the Door: Noise Is Diagnostic Information
Run the door up and down once with the garage otherwise quiet and actually listen, rather than just watching that it opens. Every distinct sound tells you something specific:
- Grinding or rumbling that scales with speed usually means a roller bearing is going.
- A rhythmic thump or bang once per rotation typically means a flat spot on a roller or a bent track section.
- Metal-on-metal squeal at the hinges is almost always a lubrication gap, not a structural problem.
- A loud bang followed by the door not moving is very often a broken spring — stop immediately and don't try to force the door with the opener.
- A slapping or clicking chain points to opener chain tension or a worn sprocket, not the door itself.
A door that's gotten noticeably louder over a few months, even if it's still working fine, is worth a call. Most noisy garage door complaints I get started this way — a gradual change the homeowner adjusted to without realizing how much had shifted, until one part finally gave out.
Build the Habit: A Month-by-Month Checklist
I tell customers to treat this the way they'd treat changing a furnace filter — tie it to something else you already do monthly so it doesn't slip. Here's how I'd break the full routine down by frequency:
| Frequency | Tasks |
|---|---|
| Monthly | Visual walk-around, balance test, auto-reverse and photo-eye sensor test, listen for new noises, wipe tracks clean |
| Every 3 months | Lubricate rollers, hinges, spring coils, and opener chain/belt; snug loose hardware |
| Every winter | Check bottom and header weatherstripping for cracking; increase lubrication frequency if road salt spray reaches the garage |
| Annually | Have a technician inspect springs, cables, and drums — anything under tension that shouldn't be a DIY job |
I've done this same walk-around on doors from Weathersfield's older ranch-style garages to newer builds elsewhere in the northwest suburbs, and the pattern holds everywhere: the doors that get a 15-minute look each month almost never end up on my emergency list. The ones that don't get looked at are where I find a spring that's clearly been failing for months, or a roller that finally locked up entirely. If you go through this checklist and find something that needs more than a wipe-down or a drop of lubricant — a cable, a spring, a bent track, a hinge with stripped holes — that's exactly the point where I'd rather you call us for a free upfront quote than push through it yourself. Reach my crew directly and we'll walk you through what we're seeing before any work starts.
Craig Halvorsen
Owner and lead technician at Schaumburg Garage Door Repair Group, serving Schaumburg, IL since 2011.
FAQs
How often should I really do this 15-minute routine?
Monthly for the visual check, balance test, and sensor test. Lubrication can stretch to every three months in mild weather, but I'd tighten that to monthly through a Chicago winter since road salt and slush wash lubricant off faster and freeze-thaw cycling is harder on every moving part.
Is it safe to adjust the spring tension myself if the balance test fails?
No. Torsion and extension springs store enough force to cause serious injury if you don't have the right tools and training. The balance test is meant to tell you whether you need a technician, not to walk you through adjusting the spring yourself.
My door passes the balance test but still sounds rough. What's going on?
Balance and noise are separate issues. A well-balanced door can still have a worn roller bearing, a dry hinge, or a loose bracket that's purely a noise and wear problem rather than a spring problem. Work through the lubrication and hardware sections separately from the balance test.
What lubricant should I actually buy?
A silicone-based garage door spray or a lithium-based grease made for door hardware. Skip WD-40 and household oils for long-term lubrication — they evaporate quickly and can wash existing grease out of roller bearings.
Can I test the auto-reverse safety sensors without any special tools?
Yes. A piece of scrap wood on the floor tests the mechanical reversal, and waving your hand through the photo-eye beam (without anything on the ground) tests the sensor pair. Both should be tested monthly, and both should stop and reverse the door immediately. If either doesn't, see my full sensor troubleshooting guide before using the door normally again.
How do I know when a maintenance item becomes a same-day repair?
Anything involving a frayed cable, a spring that's visibly gapped or has snapped, a door that won't reverse on the safety sensors, or a door that's jumped its track. Those aren't maintenance items anymore — stop using the door and call for service rather than trying to force it through another cycle.
Have a Garage Door Problem Right Now?
Skip the guesswork — call Schaumburg Garage Door Repair Group for a fast, honest diagnosis.